Stripe online payments
Connect your own Stripe account through Stripe Connect so clients can pay invoices by card, including the Stripe onboarding steps and fees.
With online payments switched on, your clients can pay an invoice by card from a Pay now button. The money goes to your own Stripe account, and Bilify records the payment on the invoice by itself.
How it works
- Bilify uses Stripe Connect with an Express account. You get your own Stripe account, connected to Bilify, without needing to build anything.
- Clients pay on a secure page hosted by Stripe. Bilify never sees or stores card numbers.
- Stripe pays the money out from your Stripe balance to the bank account you give Stripe.
- Stripe is the only online payment provider in Bilify.
Before you start
- Your package must include online payments (Business and up). See Packages compared.
- You need to be an owner or admin.
- Check on Stripe's website that Stripe supports businesses in your country. Stripe, not Bilify, decides whether it can open an account for you.
- Have ready: your business details (legal name, registration and tax numbers, address), the identity details of a representative of the business, and the bank account where you want to receive payouts.
Step 1: start in Bilify
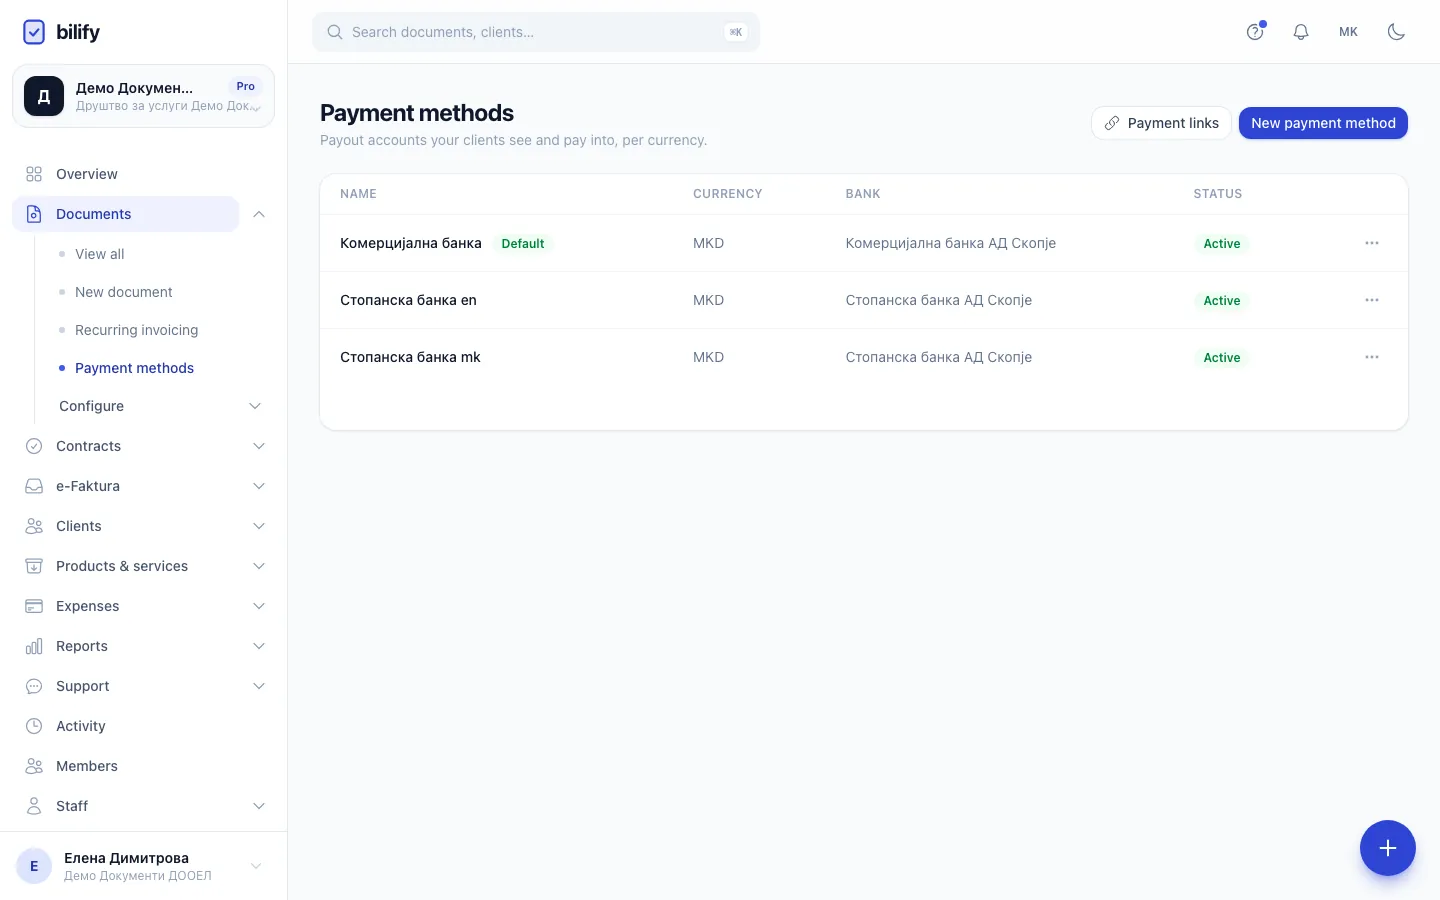
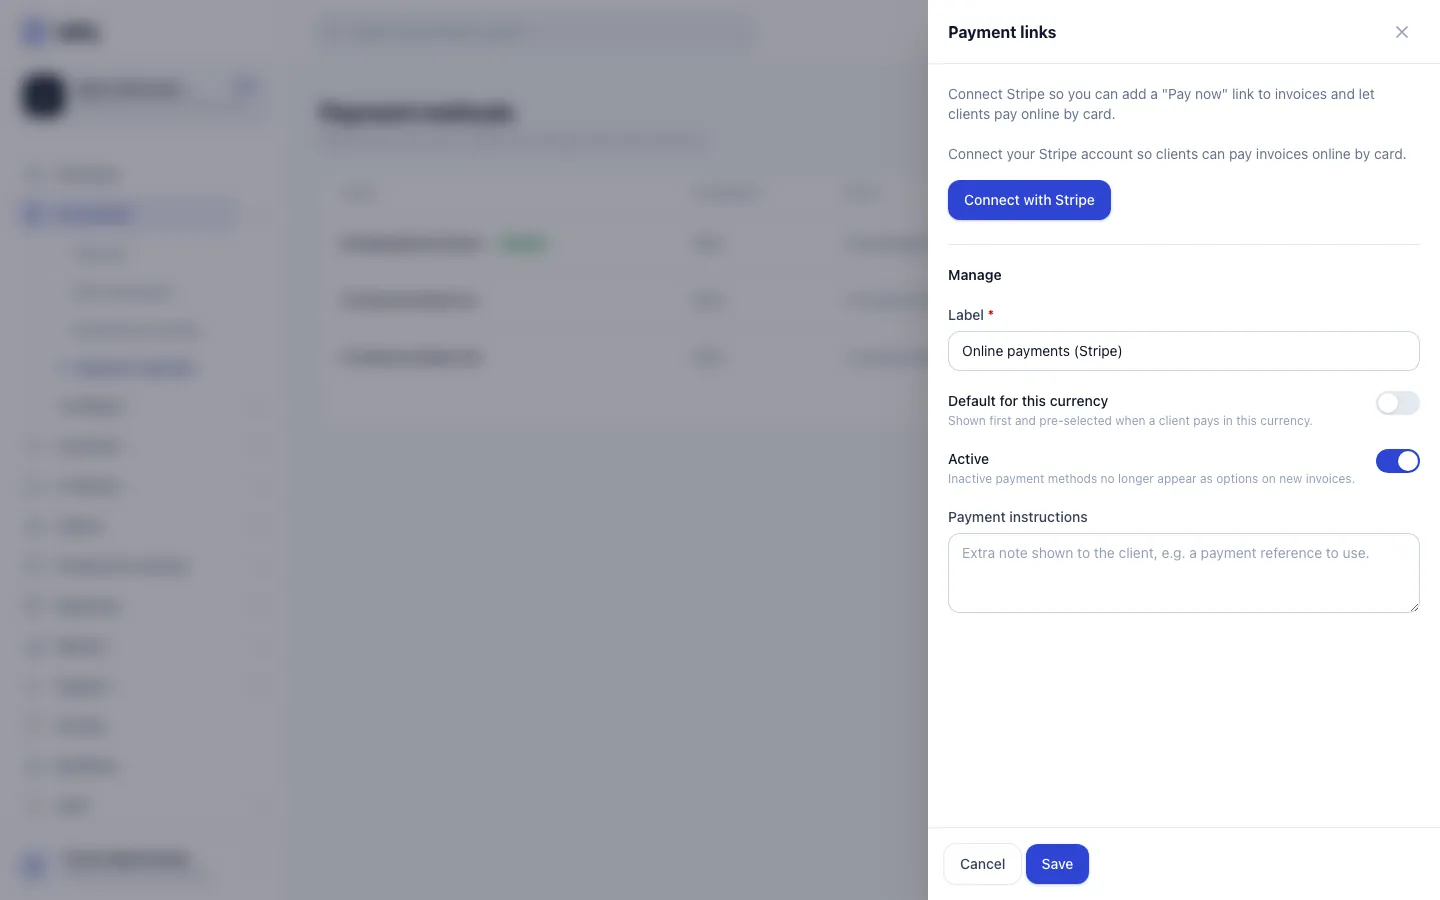
- Step 1: On Payment methods, click Payment links to open the online payments panel.
- Step 2: This label is how the Stripe payment method appears on your invoices.
- Step 3: Optionally add payment instructions for your clients.
- Step 4: Click Connect with Stripe to finish onboarding on Stripe, then come back and click Save.
- Go to Documents > Payment methods.
- Click Payment links. A panel opens.
- Click Connect with Stripe.
You can also start from New payment method by choosing the type Online payments (Stripe); the Stripe Connect card has the same Connect with Stripe button.
Bilify creates your Stripe Express account (using the email address of your company's owner) and sends you to Stripe.
Step 2: complete onboarding on Stripe
Stripe now shows its own onboarding pages. They differ by country and business type, and Stripe changes them from time to time, so follow what is on screen. Typically Stripe asks you to:
- confirm your email address and a mobile phone number,
- choose your business type and enter the business details,
- enter the details of the representative, and sometimes upload an identity document,
- add the bank account for payouts,
- review the information and submit it.
When you finish (or leave), Stripe sends you back to Bilify.
If the Stripe link expires
Stripe onboarding links are short-lived. If one expires while you are on Stripe, Bilify creates a fresh one and sends you back to the same place. You can also click Connect with Stripe again at any time: it continues with the same Stripe account instead of creating a new one.
Step 3: back in Bilify
Back on Payment methods you see one of two messages:
- Stripe account connected. Stripe allows your account to take card payments. The panel shows the Connected badge and Your clients can pay invoices online by card.
- Stripe account created, but onboarding is not finished yet. Complete it to start accepting online payments. Stripe needs more information, or is still checking it. Click Connect with Stripe to continue. If Stripe is only reviewing, Bilify updates the status by itself once Stripe tells it the account is ready.
Step 4: save the online payment method
Invoices use payment methods, so save one for Stripe:
- In the Payment links panel, under Manage, check the Label. It starts as Online payments (Stripe).
- Leave Active on.
- Optional: add Payment instructions for your clients.
- Click Save.
The method appears in your payment methods list with All currencies. Now you can let clients pay invoices online, see Payment links.
The Stripe Express dashboard
Once connected, the Payment links panel (and the Stripe card on the payment method form) has a View Stripe dashboard button. It opens your Stripe Express dashboard in a new tab with a fresh sign-in link, so you do not need a separate Stripe password for it. There you can see your balance, the payments you received and your payouts, and update your payout bank account and business details. Menus are Stripe's own; see Stripe's help pages for details.
Fees
Bilify charges a platform fee on each online payment, calculated on the amount the client is charged. The rate depends on your package and is taken off automatically: the amount that reaches your Stripe balance is the payment minus Bilify's fee. Each payment in your Stripe Express dashboard shows what you received. The fee rate is not shown in Bilify; ask support for the rate of your package.
What Bilify does after a payment
When a client pays, Stripe notifies Bilify and the payment is recorded on the invoice with the method Payment gateway. A payment link always charges what is still owed, so the invoice becomes Paid, your team gets the Payment received notification, and the client is taken back to the invoice in the portal. See Record a payment.
Stop taking online payments
Switch the Stripe payment method to inactive (row menu, Deactivate) to stop offering it on new invoices. Disconnecting the Stripe account itself is not available in Bilify; contact support if you need it.
Was this page helpful?
Related articles
Still stuck?
Write to us and we will get back to you within one working day.