Manage members
See who has access to your company, change a member's role or custom access, and remove people who no longer need it.
The Members page lists everyone who can sign in to this company and lets you change what they can do. Owners and Admins see it in the sidebar; other roles do not.
The member list
Under Current members each row shows the person's picture, name, email and role. Your own row is marked You. Depending on your permissions, each row also has:
- a role dropdown, to change the role,
- a gear icon (Edit access), to tick individual permissions,
- a bin icon, to remove the member.
To add someone, use Invite a member at the top of the page; see Invite your team.
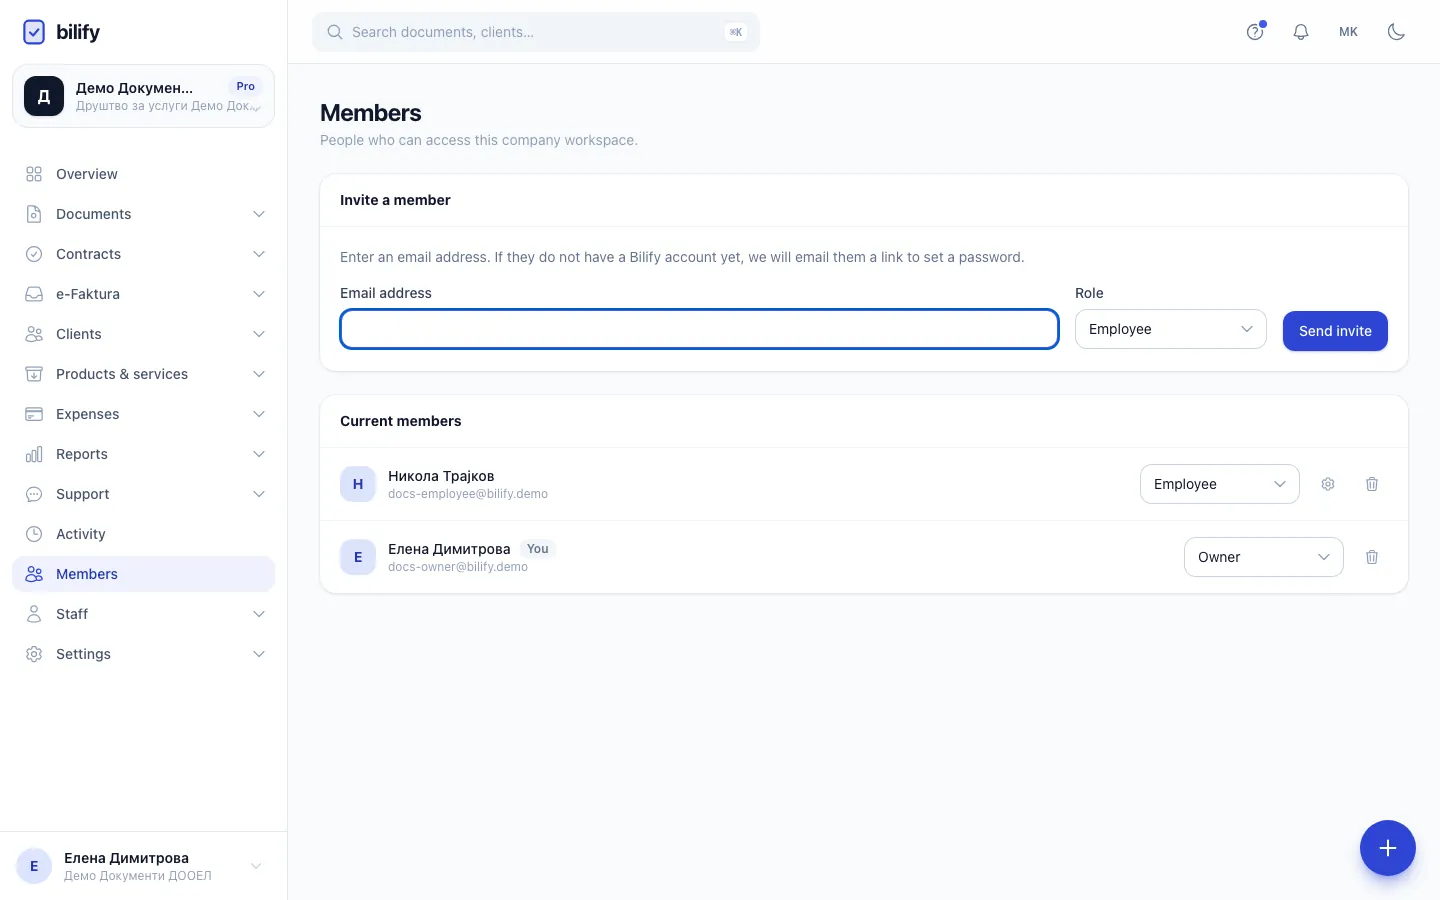
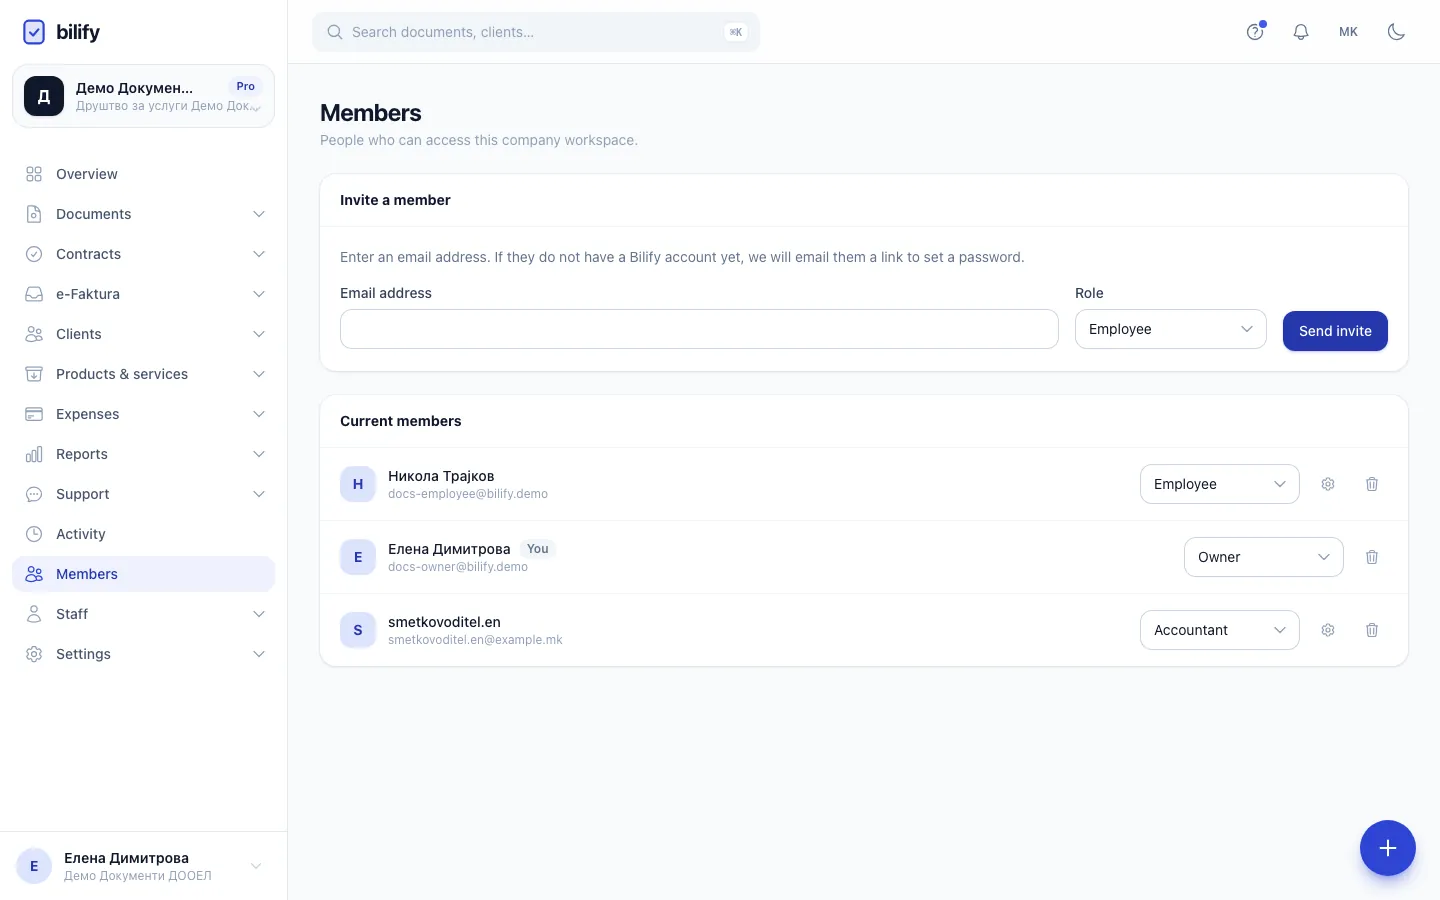
- Step 1: Invite people from the Members page. Each person gets their own login.
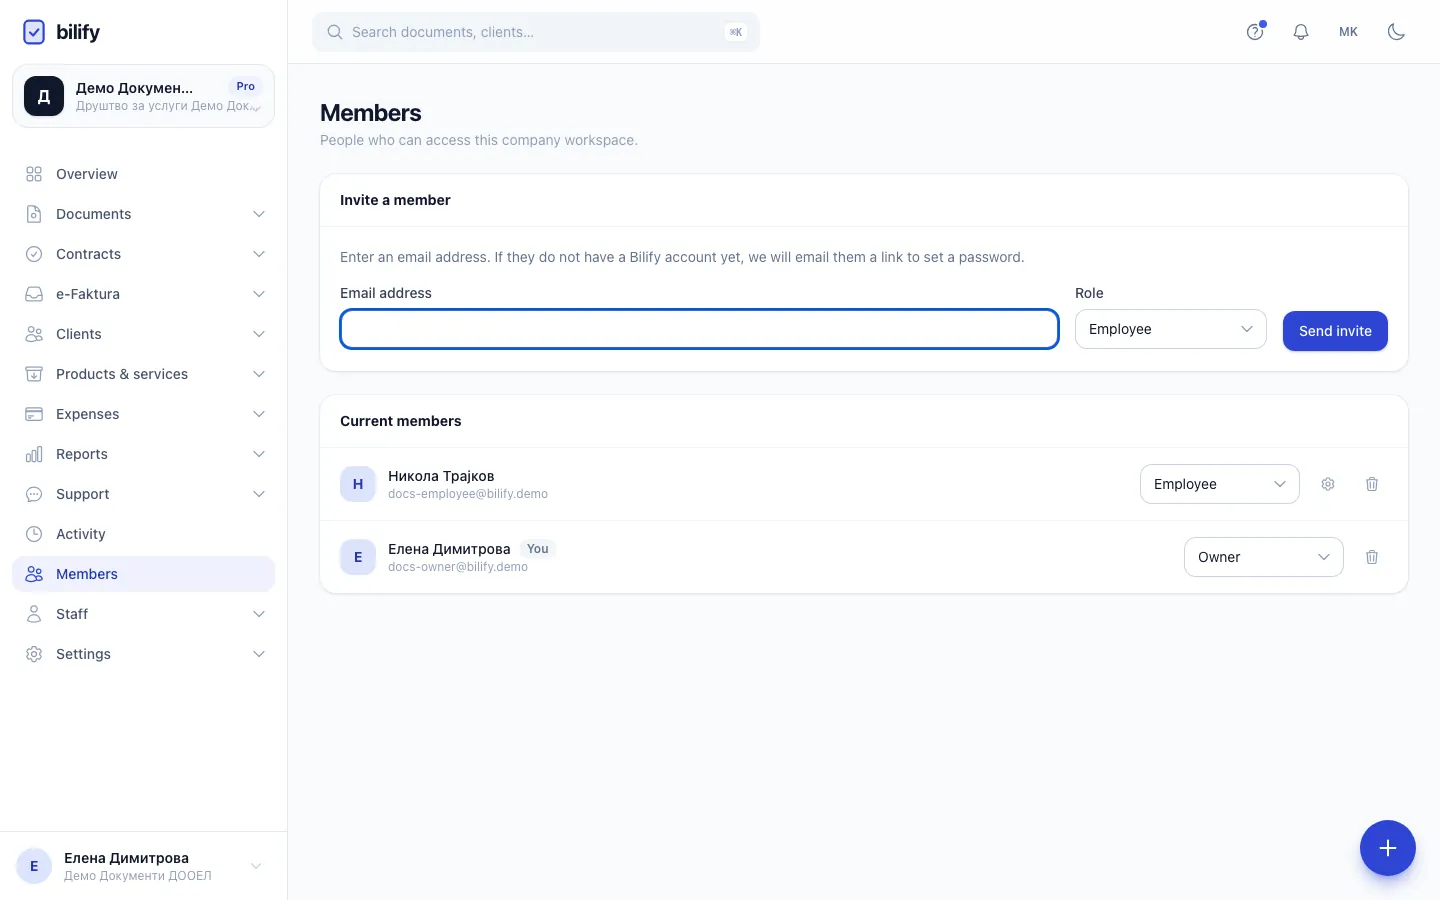
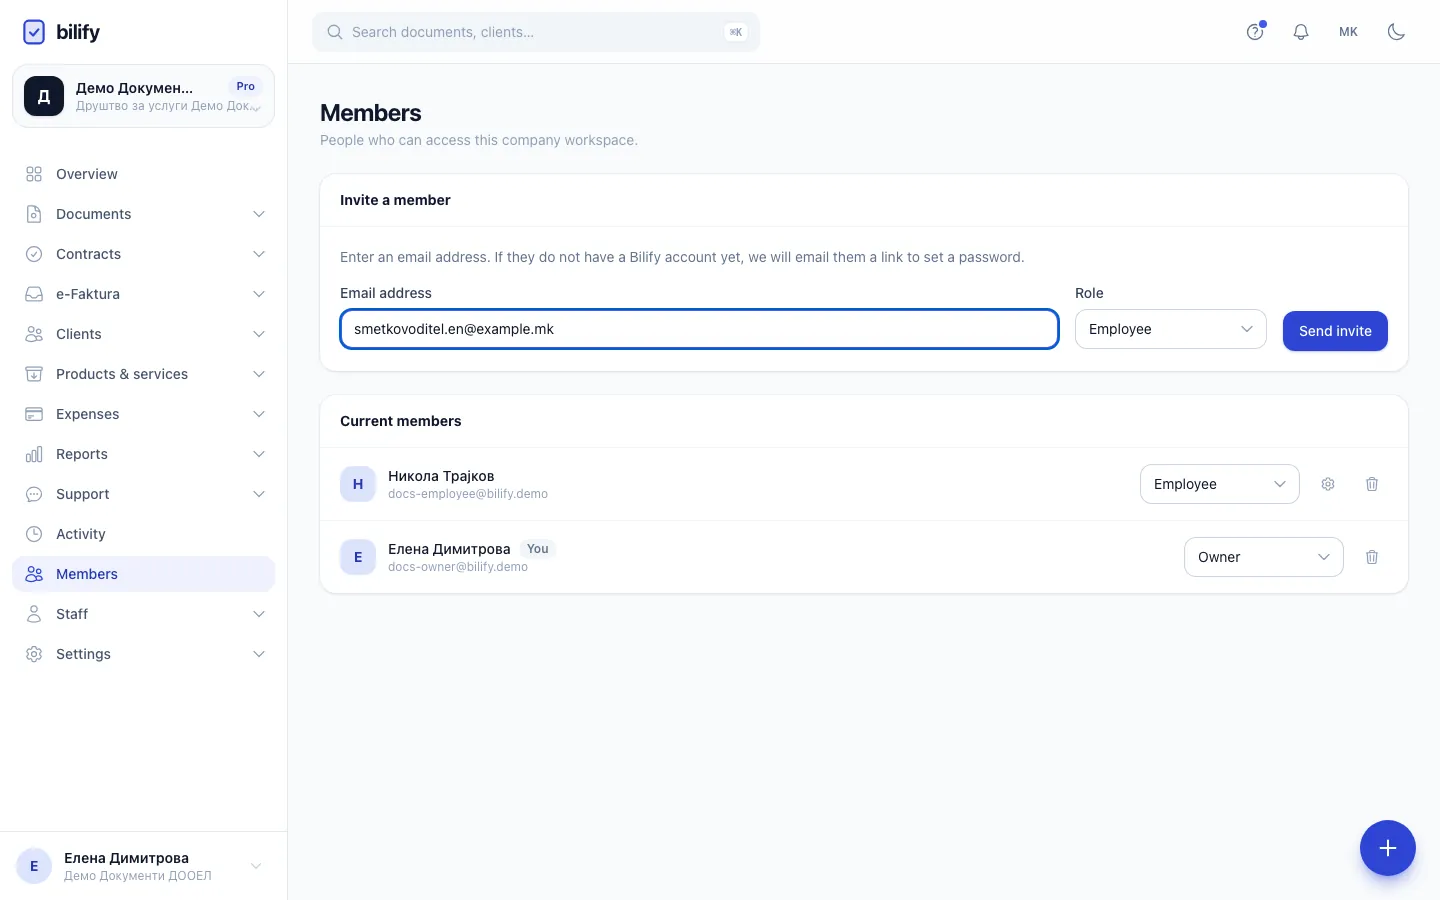
- Step 2: Type the person's email address.
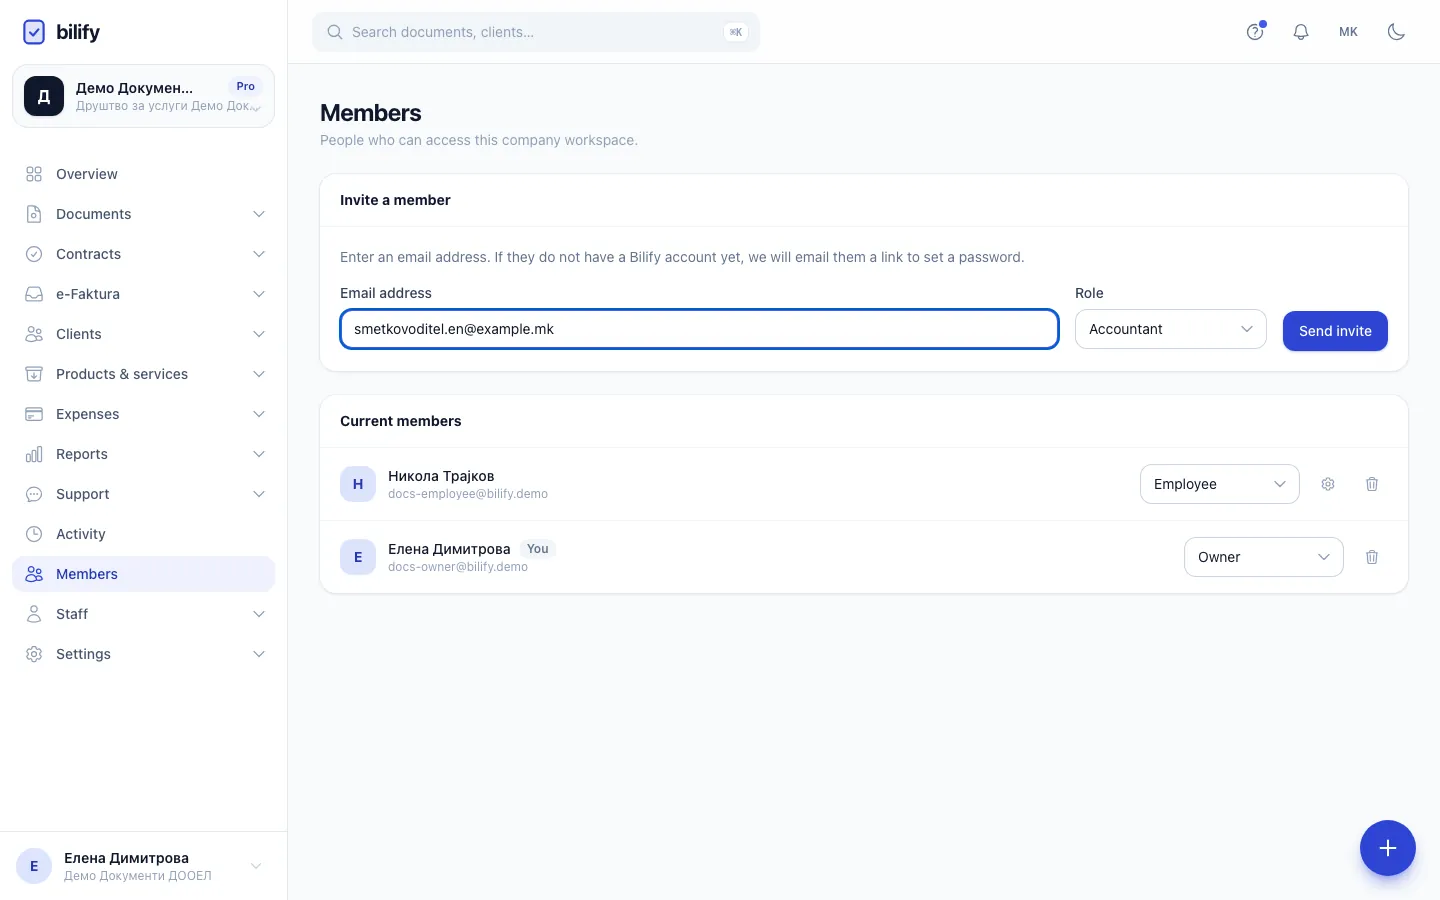
- Step 3: Choose a role. Accountant sees documents, expenses and reports but not company settings.
- Step 4: Click Send invite. They join right away and get an email with a link to sign in.
- Step 5: The new member is now in the list with the role you picked.
Change a member's role
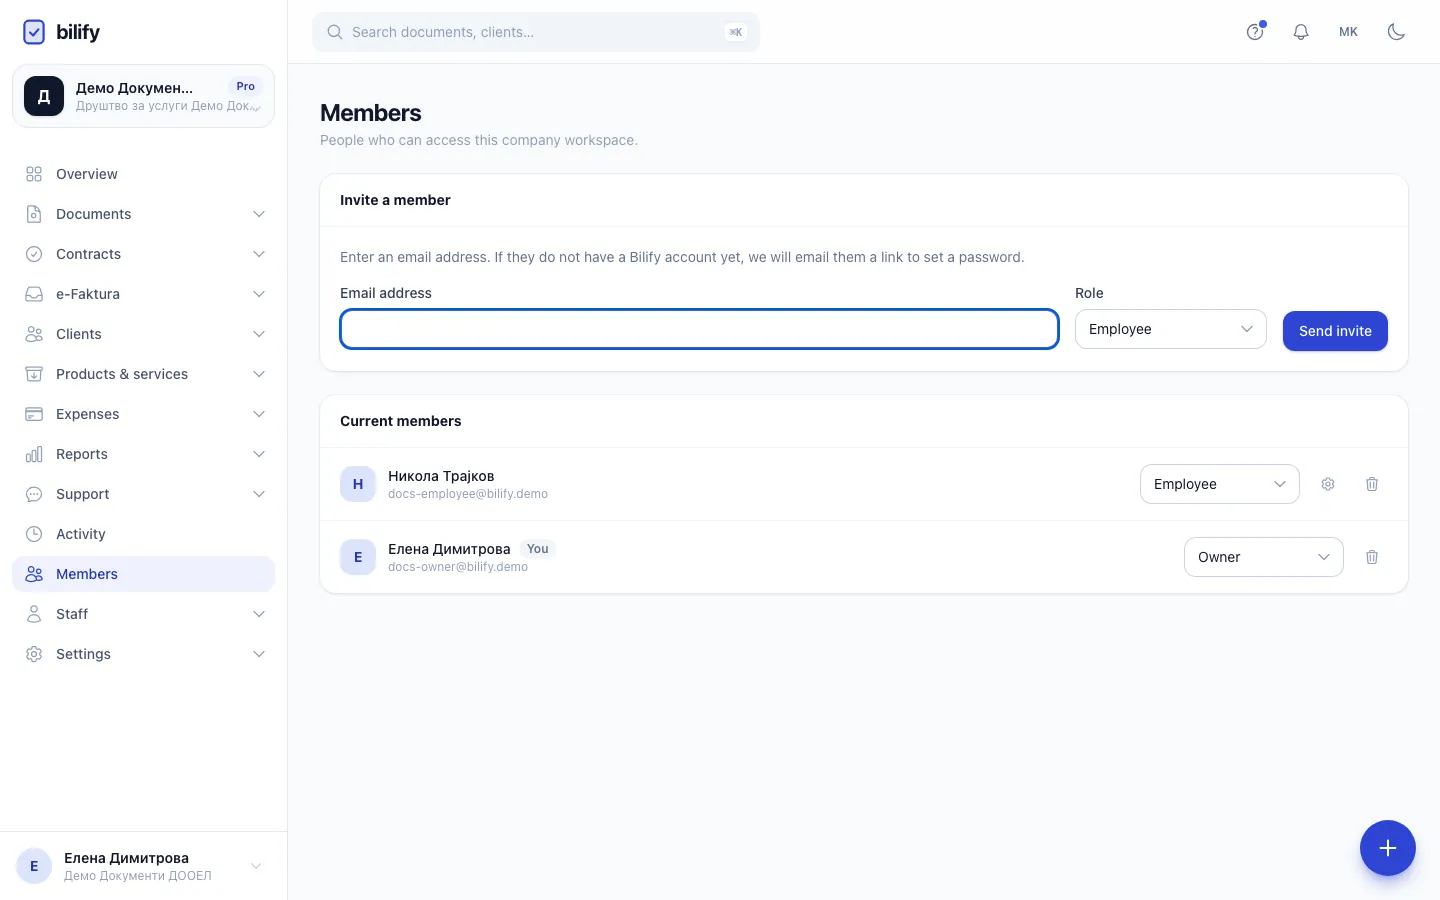
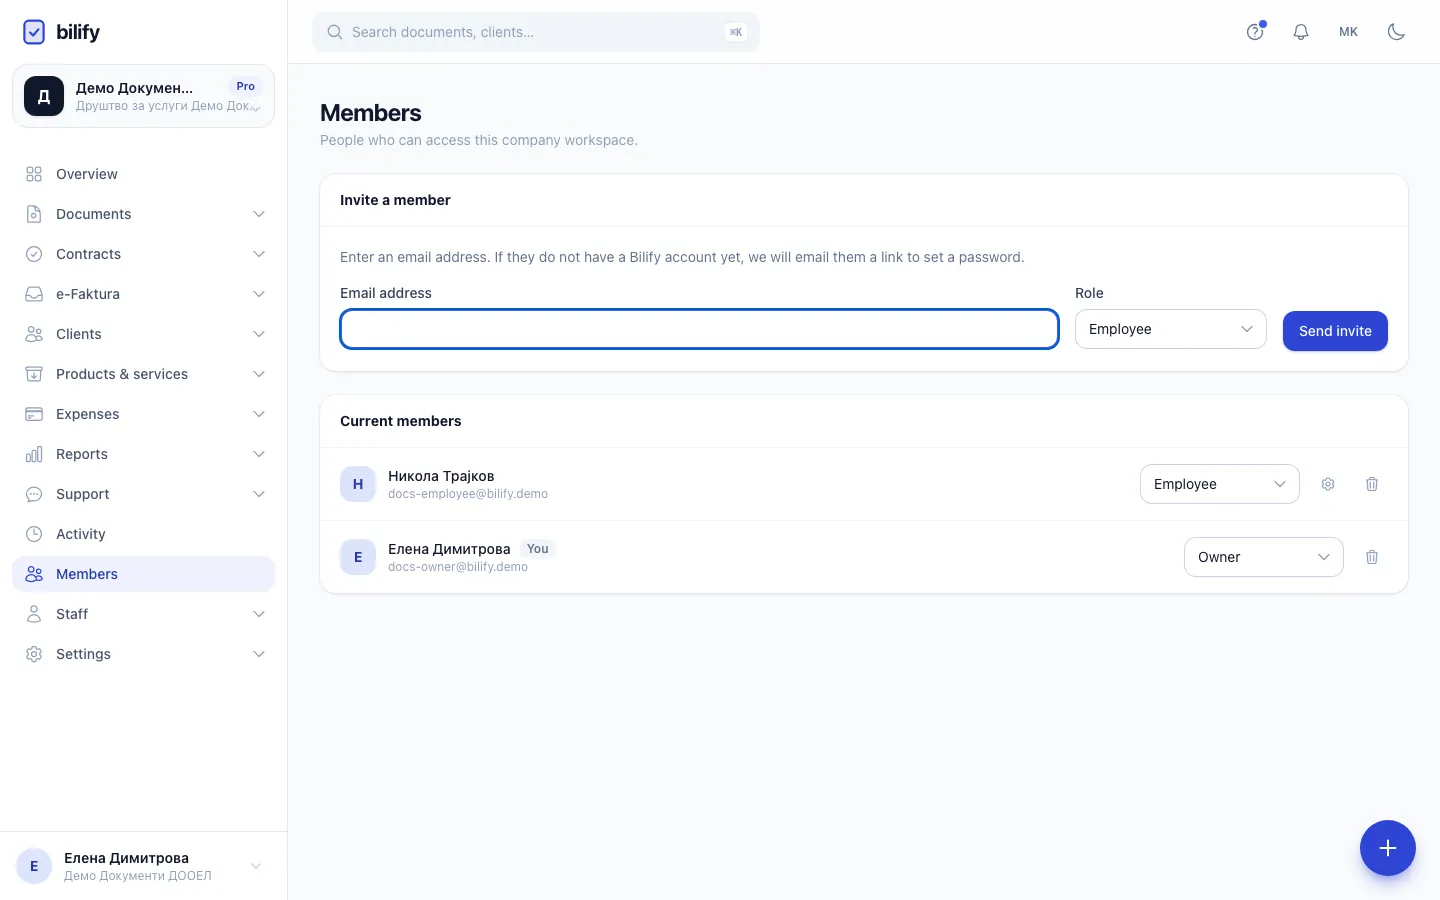
- Step 1: Pick a new role from the member's dropdown. The change is saved immediately.
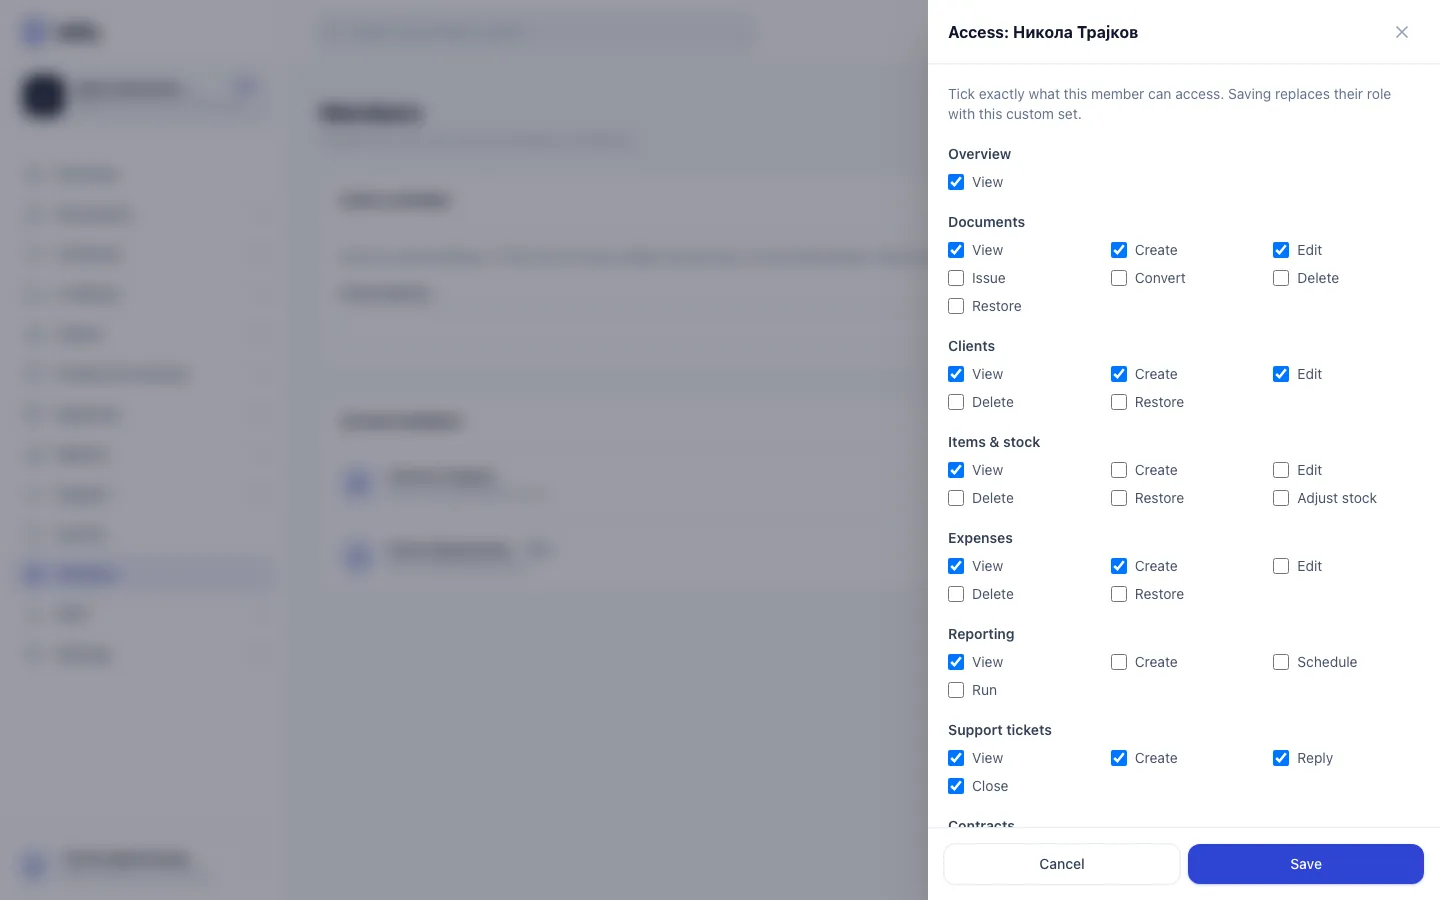
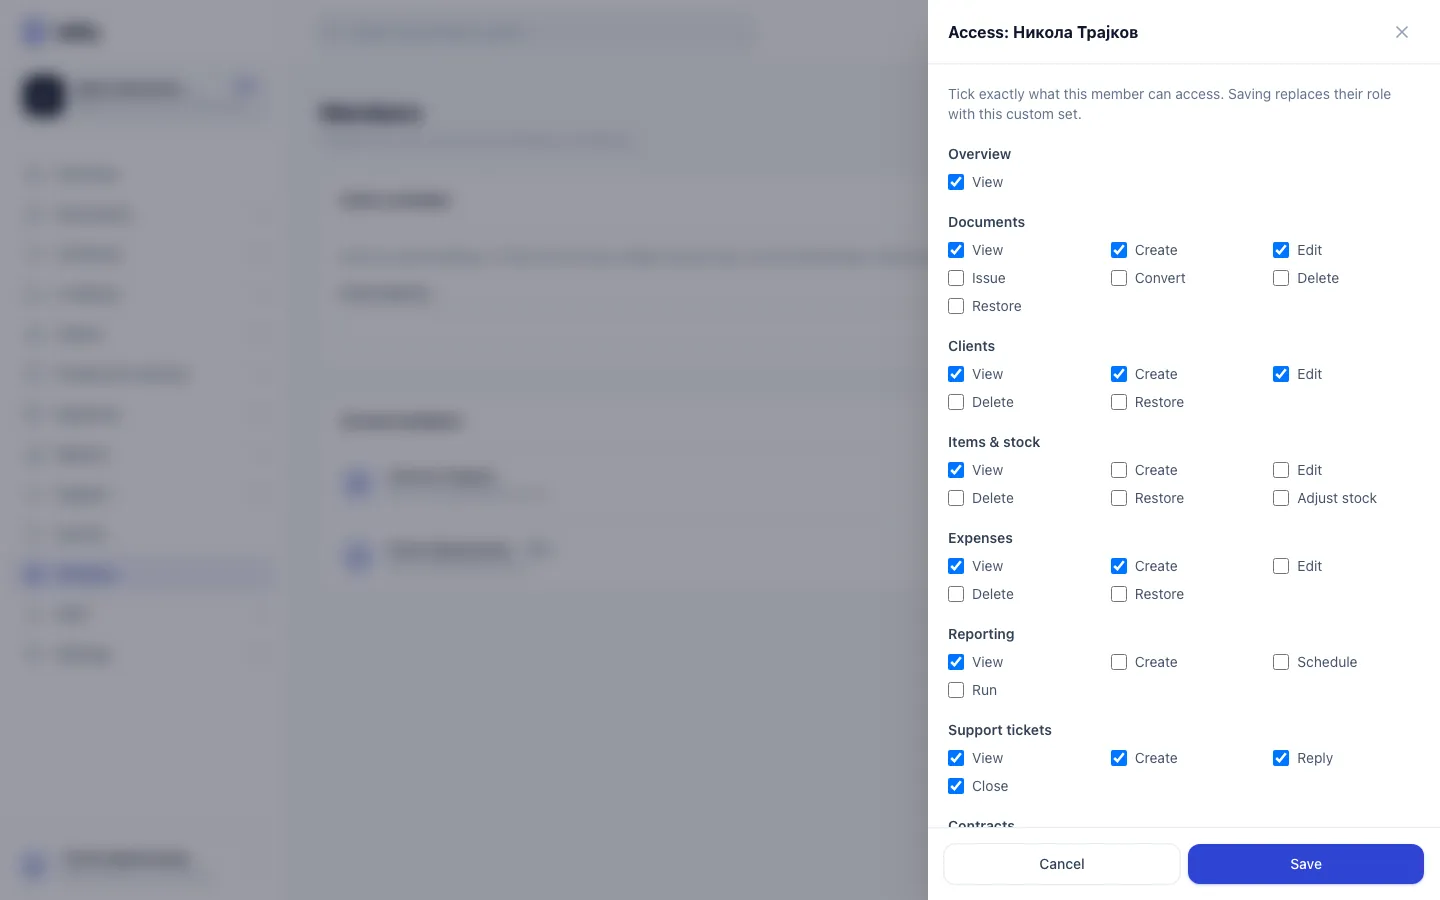
- Step 2: For finer control, click the gear icon to edit this member's access.
- Step 3: Tick exactly what the member may do in each area, for example create but not issue documents.
- Step 4: Save replaces the role with a Custom set. Pick a role again later to go back to the standard set.
- Find the member in Current members.
- Pick the new role in their dropdown.
The change is saved immediately and you see Role updated. It takes effect on the member's next page load. Picking a role also clears any custom access the member had.
Customise one member's access
- Click the gear icon next to the member.
- In the panel, tick exactly what they may do. The permissions are grouped by area, such as Documents, Clients or Settings.
- Click Save.
The role shows as Custom from then on. Owners cannot be customised. You can only grant permissions you have yourself. More in Roles and permissions.
Remove a member
- Click the bin icon on the member's row.
- Confirm Remove this member?.
The person loses access to this company straight away, including its sandbox if you use one. Their Bilify account is not deleted: they can still sign in to other companies they belong to, and everything they created here (documents, clients, activity history) stays as it was. Removing a member frees a place in your package's member limit.
If you invite the same email again later, they come back with the role you choose then.
Rules that protect the company
| Message | Why |
|---|---|
| A company must keep at least one owner. | You tried to remove or demote the only Owner. Make someone else Owner first. |
| Only an owner can change another owner's role. | Admins cannot change an Owner's role. |
| An owner's access cannot be customized. | Owners always have every permission. |
| You have reached your plan's member limit | Your package has no free member places. See Usage limits. |
Members and employees are different
Members sign in to Bilify. Employees on the shift calendar do not, and they never appear on this page. See Employees.
Was this page helpful?
Related articles
Still stuck?
Write to us and we will get back to you within one working day.